Maximizing ROI: Switching to an IPA-Free Resin Removal Workflow with PostProcess AUX-400-RINSE

In the world of resin 3D printing, efficiency, safety, and cost-effectiveness are paramount. One critical aspect of the resin removal workflow is the final rinse step, which historically involved using Isopropyl Alcohol (IPA). However, PostProcess has revolutionized this process with the AUX-400-RINSE, completely eliminating the need for IPA in the PostProcess resin removal workflow. AUX-400-RINSE, used after processing parts in the full stack resin removal solution, offers a game-changing rinse step that not only improves safety but also significantly impacts the bottom line. In this blog post, we will explore the advantages of switching from traditional IPA to AUX-400-RINSE.

Traditional IPA: The Conventional Choice

For many, IPA has been the traditional solution for resin removal, but its safety and sustainability challenges are driving a shift in the industry.
Its high flammability makes it a hazardous substance, raising concerns about operator safety and workplace accidents. Additionally, IPA contributes to harmful VOC (Volatile Organic Compounds) emissions, impacting air quality and the environment. As regulations become stricter and environmental consciousness rises, users are seeking alternatives that prioritize both safety and sustainability.

AUX-400-RINSE: A Leap Towards Improved Performance & Sustainability

Enter AUX-400-RINSE, a cutting-edge alternative that not only enhances safety but also proves to be a more economical choice. PostProcess developed AUX-400-RINSE as a groundbreaking alternative to IPA for the final rinse step in response to industry demands for enhanced safety, sustainability, and efficiency. Recognizing the safety and sustainability issues with IPA, PostProcess designed AUX-400-RINSE, providing a safer, environmentally friendly, and more cost-effective solution. AUX-400-RINSE is also notable for its lower Volatile Organic Compound (VOC) rate compared to IPA, further contributing to a greener approach. By eliminating the need for IPA in the PostProcess comprehensive resin removal workflow, AUX-400-RINSE not only ensures a secure working environment but also improves performance with 3X more parts rinsed than IPA which streamlines operations, reduces material wastage, and promotes a sustainable approach to 3D printing processes.

Understanding the Total Cost of Ownership (TCO) for the Final Rinse Step

When considering the TCO, it’s crucial to take multiple factors into consideration. Safety, longevity, evaporation rates, and reusability are pivotal factors in making an informed decision. Here’s why AUX-400-RINSE shines:

  • Improved Safety: AUX-400-RINSE boasts reduced flammability and lower exposure risks compared to IPA, ensuring a safer working environment for operators.
  • Enhanced Longevity: AUX-400-RINSE outperforms IPA by rinsing three times more parts, significantly extending its usability.
  • Reduced Operator Time: With fewer tank changes required (10 fewer changes annually in this scenario), operators save valuable time, contributing to increased productivity.
  • Minimized Solvent Loss: AUX-400-RINSE exhibits approximately 2 times lower evaporation rates compared to IPA, meaning less material wastage and more cost savings.
  • Reusability: AUX-400-RINSE can be easily recovered through simple filtering, allowing for a sustainable and cost-effective solution. IPA, in contrast, cannot be reclaimed in the same manner.

Conclusion: A Safe Investment for the Future

In this comparison, the AUX-400-RINSE emerges as the superior choice for an IPA-free resin removal workflow. Its unparalleled safety features, extended longevity, reduced operator time, minimal solvent loss, and reusability factor into a compelling ROI story. Making the switch from traditional IPA to AUX-400-RINSE isn’t just a cost-effective decision; it’s an investment in a streamlined, sustainable, and safer resin removal process. Choose the PostProcess comprehensive resin removal solution and experience the difference — not just in your workflow but also in your bottom line.


-> Learn more about AUX-400-RINSE

-> Want to connect? Contact Us

-> Return to Blog Homepage

PolyJet 3D-Printing and Post-Processing in the Medical Field

PolyJet 3D printing finds extensive use across various medical applications. Although it has benefits for training and education, post-processing complex 3D-printed designs can prove difficult. Let’s look at the use of PolyJet 3D printing in the medical field, typical challenges encountered during post-processing, and strategies for addressing these issues.

PolyJet Printing in the Medical Industry

PolyJet has many advantages over other forms of 3D printing for the medical industry. Anatomical modeling for educational purposes benefits from PolyJet’s versatility in properties and colors. They can also use models pre-surgery to help doctors plan out their methods before operating, which can create better outcomes for patients. PolyJet is an excellent medium for these purposes as it offers detailed prints. Scans of patient anatomy can be easily replicated thanks to PolyJet’s ability to create small channels and details on models.
3D printed polyjet heart before and after.
Common PolyJet printers used for medical applications can include:

  • Eden
  • Connex 260
  • Connex 350
  • Connex 500
  • J735
  • J750 DAP
  • J8-Series

PolyJet prints offer the detail needed for medical models, but they can also create a lot of challenges for post-processing.

Challenges with PolyJet Post-Processing

Although PolyJet technology can produce accurate and intricate models, it can also give rise to a series of costly post-processing complications. Medical anatomical models have small channels that need careful cleaning by hand tools. The hybrid layer present on PolyJet-printed parts can pose difficulties as well, requiring additional manual steps like scrubbing and cleaning before we can consider the model ready for use.

These post-processing complexities can subsequently impose constraints on part design. The expense incurred because of part rebuilds stemming from breakage can also become problematic. With manual methods, breakage is incredibly common.

A post-processing solution that can mitigate these issues associated with conventional methods is needed. That’s where PostProcess’s automated and intelligent solutions come in.

Automated Post-Processing Solutions for Medical PolyJet Parts

By tackling the concerns and challenges commonly encountered with traditional post-processing techniques, PostProcess’s DEMI suite of solutions promises a significant enhancement for PolyJet-printed parts intended for the medical sector.
3D printed polyjet heart before and after.
Our automated solutions are designed specifically for PolyJet support removal, processing both thin and thick wall geometries while minimizing breakage. With the ability to batch process multiple parts at once, software-driven automation virtually eliminates inconsistent part outcomes and any need for manual or skilled labor.

Given the advantages that PolyJet brings to the medical field, understanding the potential hurdles within the PolyJet workflow can be important. Embracing an automated post-processing solution has the potential to enhance not just the general quality of your PolyJet 3D printed components, but also streamline your 3D printing processes, leading to time and cost savings.

Curious to learn more about all the cost and time savings with an automated solution and see our systems in person? If you’re in the Minneapolis/St. Paul area, check out our channel partner AdvanceTek’s Application Exploration Open House: Medical 3D-Printing happening on September 11th from 10 AM-2 PM.

Enhancing FDM Support Removal: Best Practices

In the world of Fused Deposition Modeling (FDM), it’s understood that post-processing will likely be required for most prints. The flexibility of this technology has allowed for parts to have intricate geometries and shapes. However, this often requires additional support structures to be placed in the build that needs to be removed before the final part can be used.

It’s important to understand why supports are necessary, what types of supports are available for FDM prints, and how to best set up your operation for success for better FDM support removal.

Why are Supports Needed?

3D printing with FDM technology can create complex geometries and shapes. However, some designs have intricate features that can pose a printing challenge, specifically prints that require overhangs exceeding 45° or protruding surfaces greater than 10mm. Support structures are essential for maintaining the structural integrity of these 3D-print designs during their creation.
3D printed orange egg with lattice work on black table with grey background.
These support structures act as temporary scaffolding, propping up the overhanging or protruding regions as the printer deposits the subsequent layers. These additional structures provide support, ensuring the filament adheres correctly, keeping the intended shape of the design. Without these supports, the molten filament material used for FDM may sag or droop, leading to inaccuracies and distortions in the final print.

It’s important to note: the need for support structures depends on the 3D printer, filament, and temperature you are printing with.

Common FDM Support Materials

While there are many types of FDM support materials, it’s important to understand there are two major categories of FDM support structures: soluble and breakaway supports.

Soluble supports are made of a secondary material that provides temporary support to the FDM 3d printed part during the printing process. These supports are made from a different soluble material than the part material and are dissolved in a specific solvent, typically water or a chemical solution. After the 3D printing is complete, the printed object is immersed in the solvent, causing the soluble support material to dissolve completely, leaving behind the finished, clean object without manual support removal. Examples of soluble supports are SR-30 and SR-35.
3D printed orange egg with lattice work on black table with grey background.
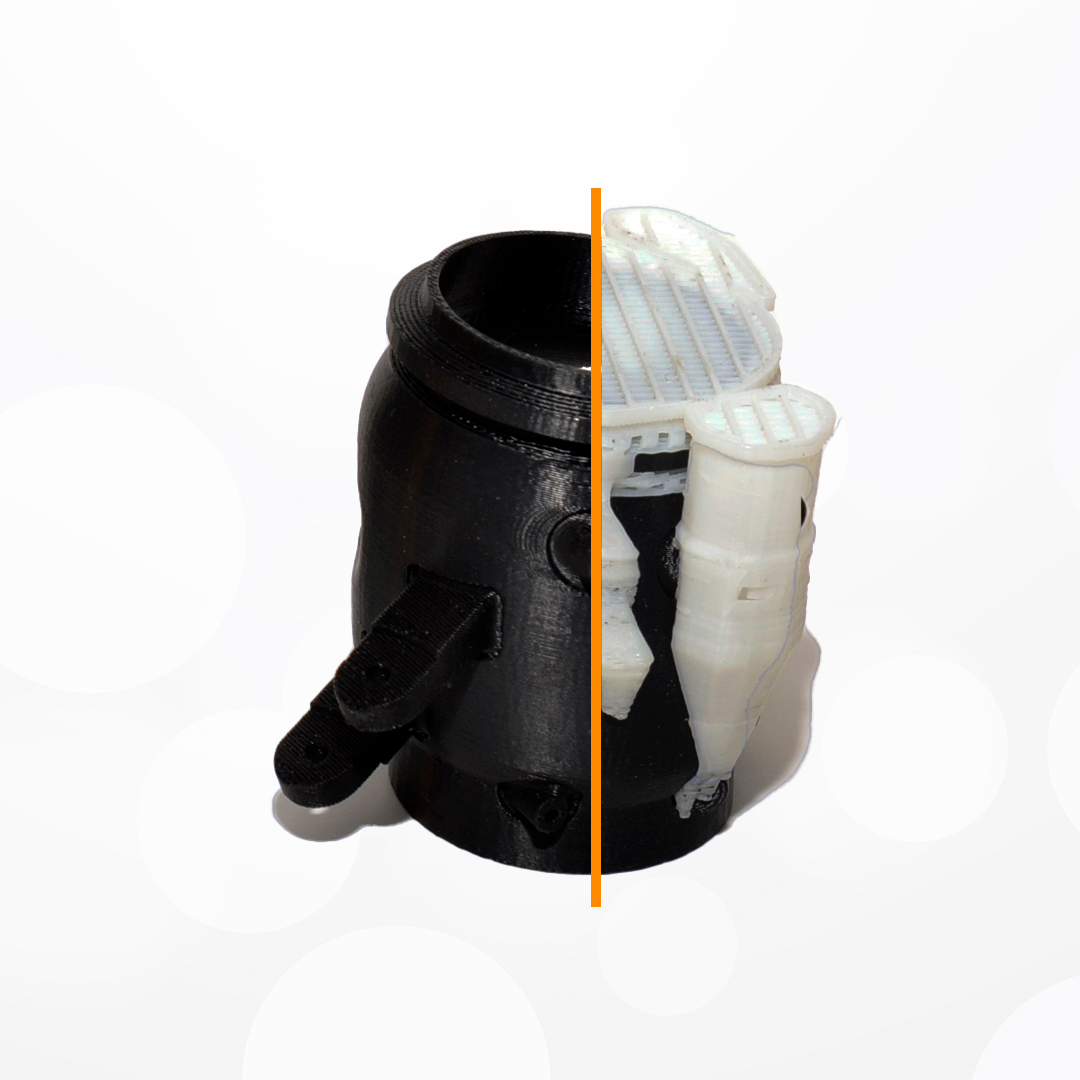
Breakaway supports another type of support structure used in FDM 3D printing. Unlike soluble supports, which dissolve in a specific solvent after printing, breakaway supports are removed manually after the printing process is complete. The breakaway support material is weaker and more brittle than the main printing material, so it can be snapped or broken away from the printed object. To remove these breakaway supports, pliers or hand tools are used to gently break or peel supports away from the printed part. Examples of breakaway support materials are P-400R, PC-BASS, PPSF-BASS, and SUP800B.

Best Practices for Support Removal for FDM Parts

As we’ve discussed, many FDM builds require soluble supports and/or breakaway supports that need to be removed before the part is complete. Manufacturers may face bottlenecks due to labor requirements with traditional support removal methods.

With all this in mind, there are a few best practices to consider when printing with FDM to improve your post-processing.

Look at your design file. 

Reducing the amount of support structures is the most obvious way to reduce your post-processing time. Changing your part design to have fewer severe angles can reduce the number of supports needed.

Part orientation also plays a major factor in how supports are used in your design. Consider slicing software like GrabCAD Print or Insight to reduce support material for your FDM 3D printing. These software tools enable you to preview the print job, estimate required time and material, and assess support needs.

Try an automated solution.

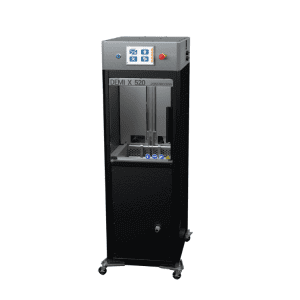
Our automated and intelligent solutions that feature our VVD spray technology offer an alternative to traditional post-processing. They were designed to address the common post-processing challenges by eliminating soak tanks and manual support removal. Our BASE™ and VORSA 500™ solutions leverage our VVD technology that takes a novel approach to FDM support removal that is rooted in software.

Why VVD Technology?

But why would you consider an automated solution? Here are just a few of the reasons our support removal solutions are better than traditional methods:

3D printed orange egg with lattice work on black table with grey background.

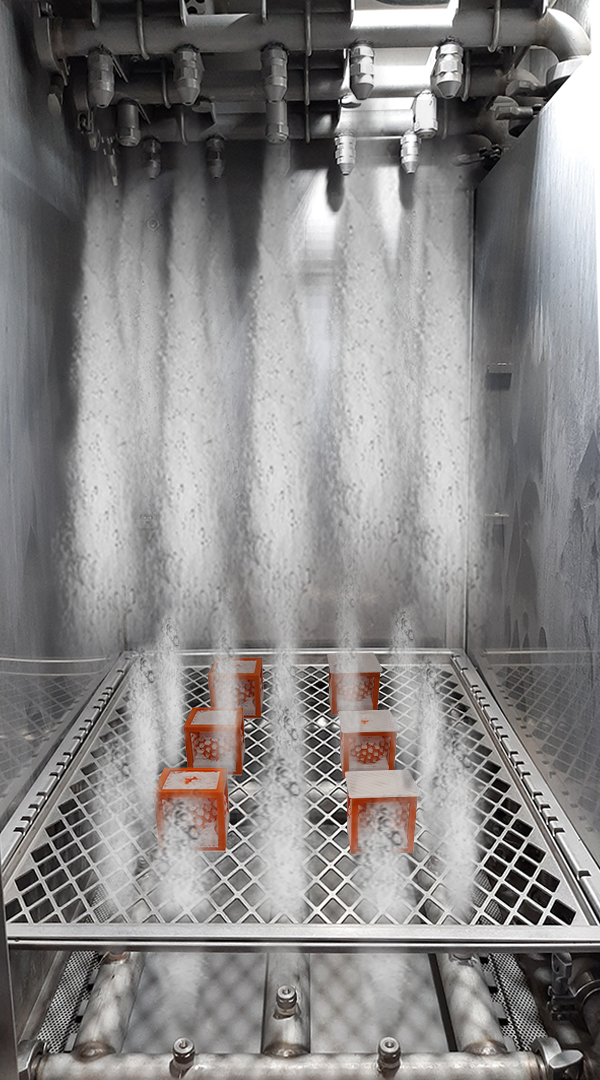
  • Rapid Support Removal: Configurable agitation efficiently dissolves support material, ensuring consistent support removal with industry-leading cycle times. An automated solution can reduce support removal processing times by 80%.
  • Reduced Dry Times: By minimizing exposure to chemistry and eliminating the submersion process, the opportunity for material absorption is reduced, resulting in faster dry times. The typical drying time reduction is greater than 60% (about ⅓ as long) compared to typical submersion tanks.
  • Consistent Results: The ability to bundle crucial parameters into recipes guarantees consistent processing, enabling a predictable workflow. Sensor monitoring ensures that energy sources contributing to mRoR (mechanical rate of removal) & cRoR (chemical rate of removal) remain within optimal ranges during each cycle.
  • Reduced Part Damage: Low-pressure agitation, precise temperature control, and limited exposure time, combined with auto-dosed chemistry, minimize the risk of warping delicate geometries.
  • Increased Detergent Capacity: The technology allows for over 2 times the support material weight per volume of detergent compared to alternative soluble concentrates. This reduces manual labor time between changeovers and recurring disposal costs.

If you’re ready to experience an elevated post-processing solution, be sure to sign up for our FDM How it Works webinar happening on September 26th at 10:00 AM EST.  Register here.


-> Want to connect? Contact Us

-> Return to Blog Homepage

Additive Manufacturing vs. 3D Printing: Is there a Difference?

3D printing and additive manufacturing are two terms often used interchangeably. But are additive manufacturing and 3D printing really the same thing? We’re here to take a deep dive into 3D printing and additive manufacturing to help you better understand how these two terms relate to each other.

What is 3D Printing?

By definition, 3D printing refers to ‌the process of creating a three-dimensional object from a digital model (such as a CAD drawing). They put the drawing into the 3D printing machine, and it slices the object into thin layers. The machine then lays these thin layers of material down in succession to create an end object.

A variety of materials are used to create these models, including metal powders, thermoplastics, and resins. Common 3D print technologies include:

  • FDM (fused deposition modeling): A print technology that extrudes a thermoplastic filament to create the layer-by-layer model.
  • SLS (selective laser sintering): A polymer powder print technology. Pre-heated to its melting point, it is selectively melted with a CO2 laser, fusing the particles together to create a solid part.
  • SLA (stereolithography): A print technology where a photosensitive liquid resin is solidified under an ultraviolet laser.
  • PolyJet: A print technology that uses liquid photopolymers and builds parts by depositing the ultrafine droplets of these liquid photopolymers on a build platform through the print head(s).

3D printing is generally used for small-scale operations and wouldn’t be used to describe many of the larger-scale operations that use 3D printing in their manufacturing workflow.

What is Additive Manufacturing?

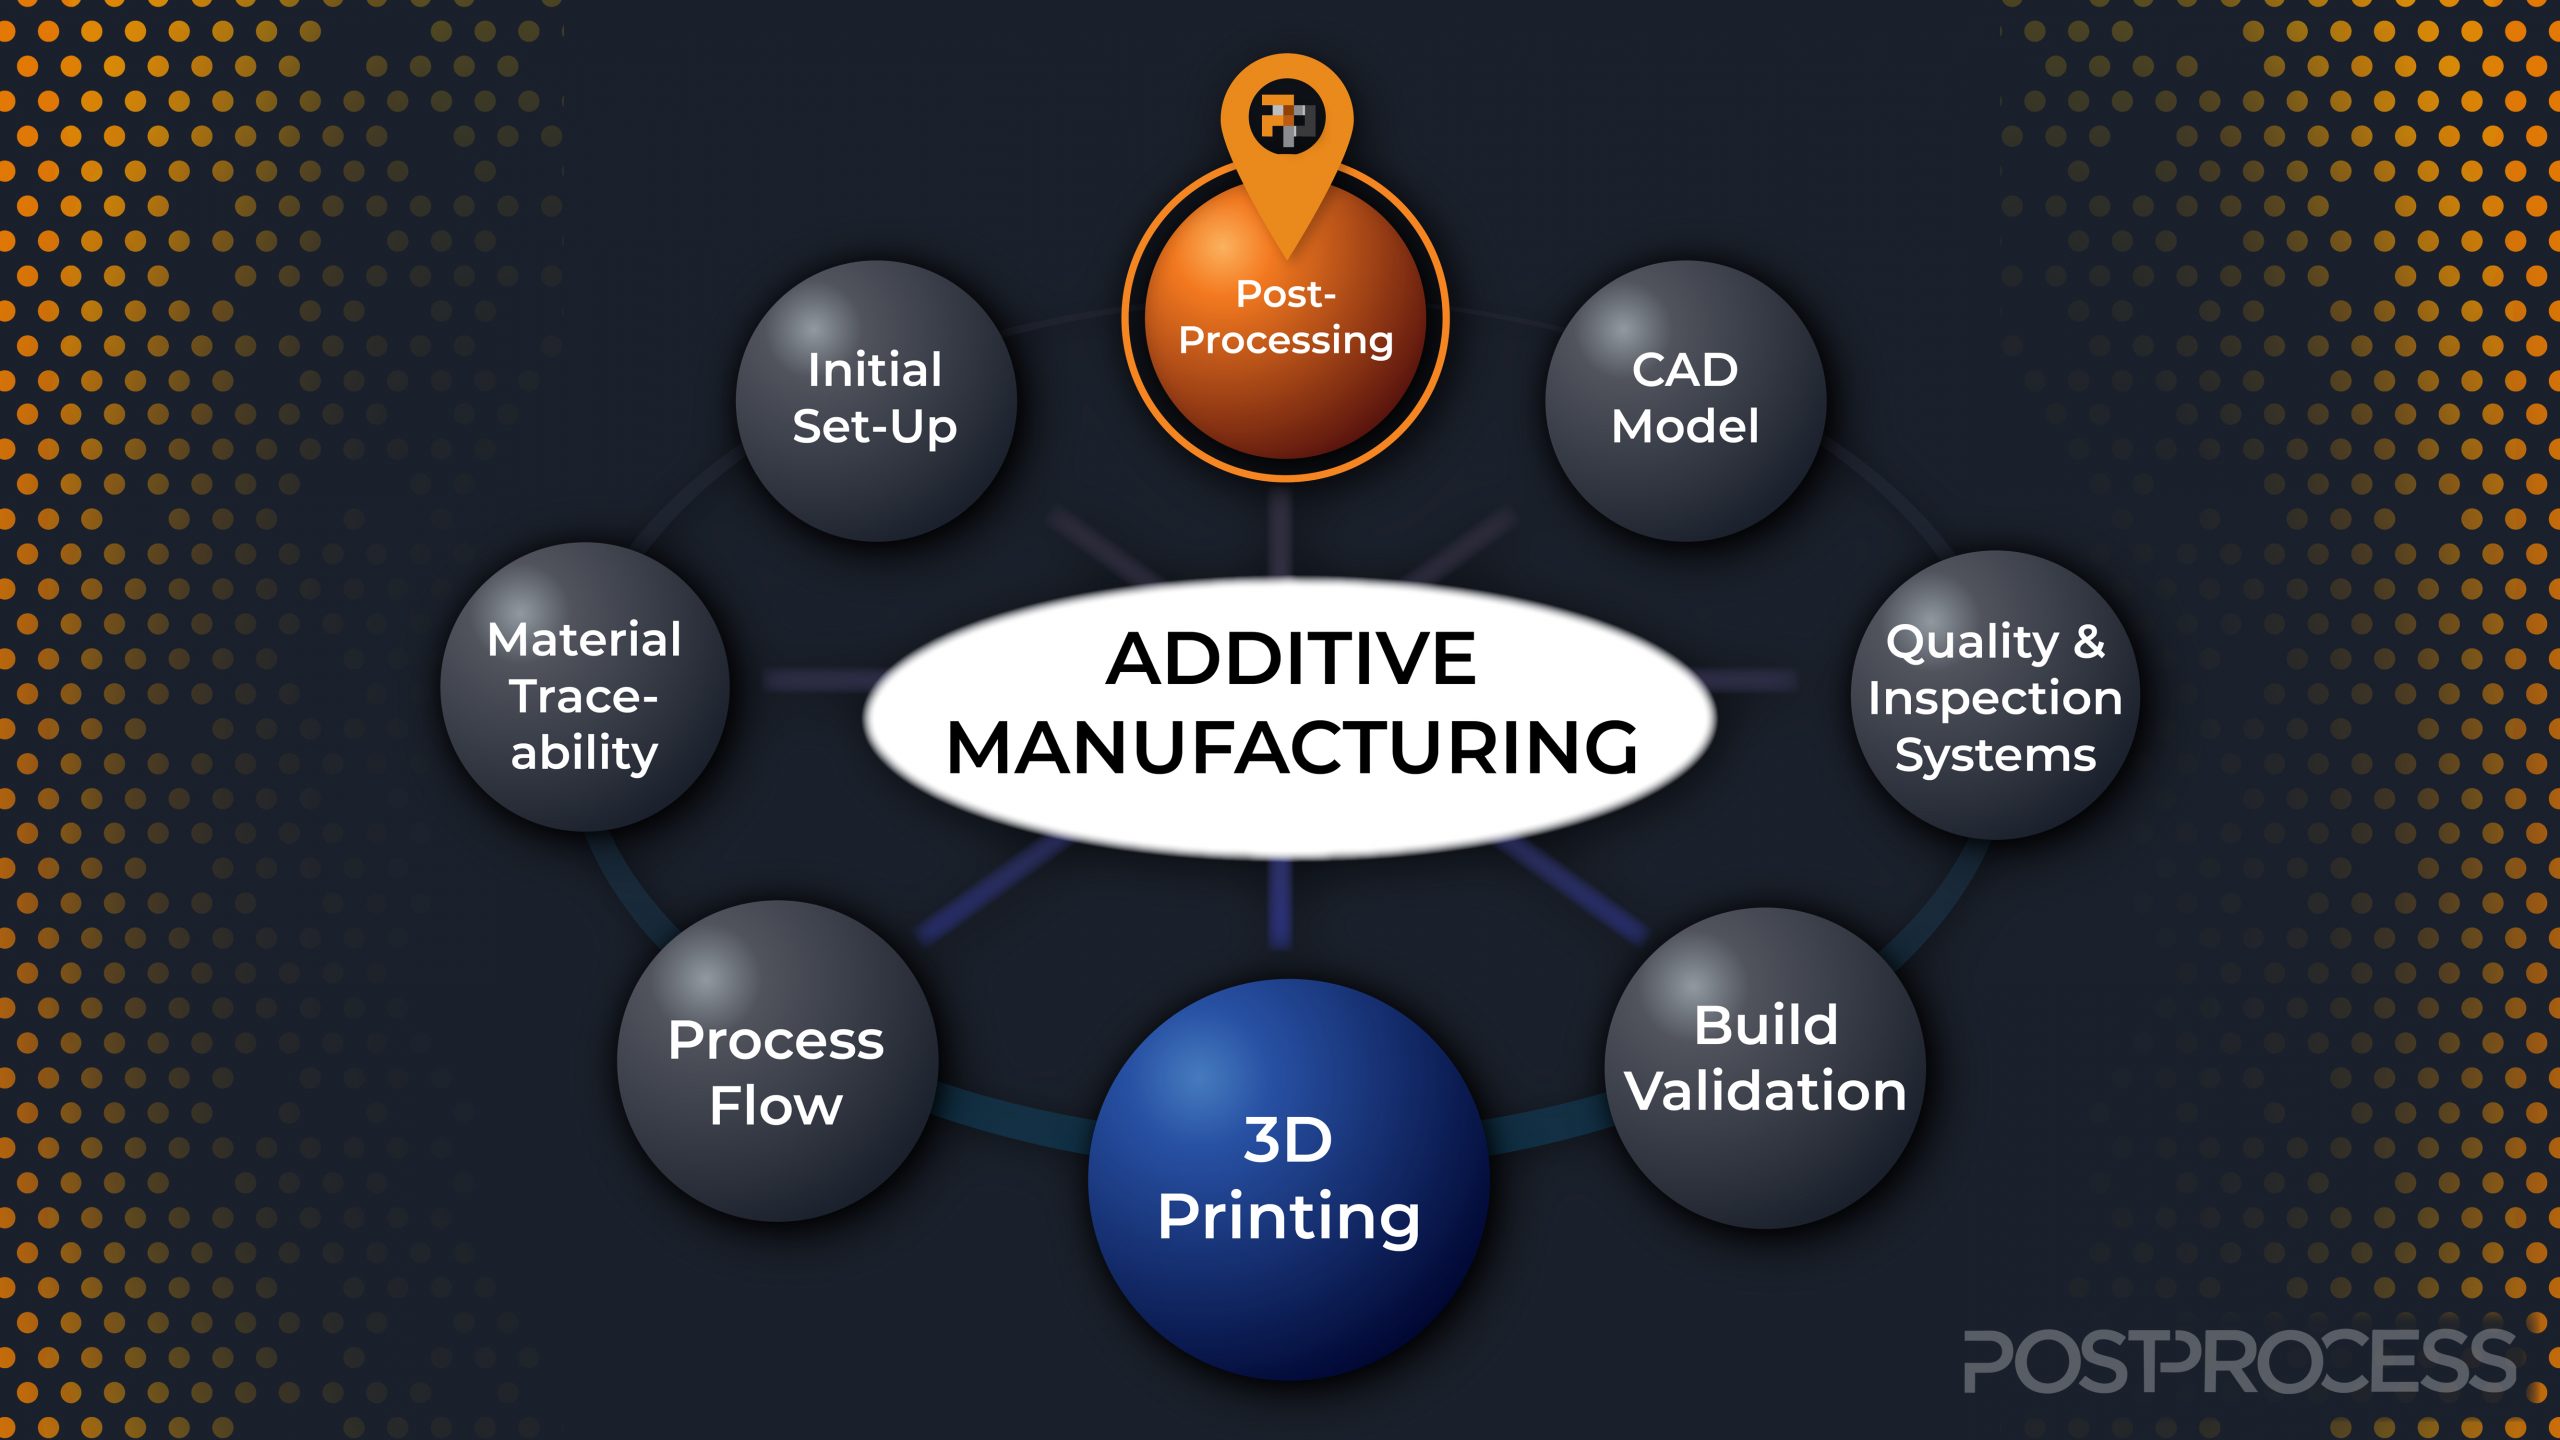
On the other hand, Additive Manufacturing features 3D printing as an element of its overall process. But it encompasses so much more than just 3D printing. Additive manufacturing requires 3D printers, but they are only one part of the term. Additive involves a much more complex and in-depth industrial manufacturing process, including the entire print workflow. It encompasses multiple processes, while 3D printing refers to only a small part of the process.

These operations involve more than creating 3D models, which can include:

  • Modeling (CAD drawings)
  • Material traceability
  • The workflow
  • Post-processing or finishing steps such as clear coating, painting, polishing, and heat treatments
  • Quality and inspection systems

So What’s the Difference?

3D printing uses an additive process to create an end product, but it is not always additive manufacturing. However, everything that is made in additive manufacturing is considered 3D printing.

We can conclude that 3D printing refers to smaller-scale, at-home printing operations, while additive manufacturing has been used to refer to large-scale or industrial manufacturing. This means context is important when you’re differentiating between the two terms.

So while they both refer to similar processes, they are (albeit subtly) different. To determine which term to use, consider the context of what you’re looking to describe. When referring to an operation that has a full workflow with multiple steps in a manufacturing or industrial setting, you should use the term additive manufacturing. For an operation that creates one-off models or is a hobbyist operation, you would use the term 3D printing.


-> Want to connect? Contact Us

-> Return to Blog Homepage

Site Map | Terms of Use | Privacy Policy | © 2024 PostProcess Technologies. All Rights Reserved | 2495 Main Street, Suite 615, Buffalo, NY 14214, USA | Phone: 1.866.430.5354 | info@postprocess.com

Twitter
YouTube
LinkedIn
Facebook