 Why Think Post-Printing During the Design Phase?
As a whopping 23% of the average part cost for polymer 3D printing is attributed to the post-printing step alone (Source: 2019 Wohler’s Report). It is essential to take every provision possible to keep your post-printing process efficient and cost-effective. If this step doesn’t keep up with the rest of your workflow, it will be nearly impossible to support a sustainable additive manufacturing operation, much less grow your production.
One of the most essential factors in ensuring efficient post-printing is actually at the very first phase of the additive workflow – designing the part. If you’re not mindful of the post-printing step early on in the design phase, it’s very likely you’ll end up having wasted time, material, and resources on an iteration that you’ll have to alter anyways.
By having a more concrete understanding of what sort of processes your 3D printed parts will go through during the post-printing phase, you can incorporate simple design tweaks to ensure your workflow remains as streamlined as possible – therefore limiting the potential for design failures. Though this blog post will specifically discuss four different design tips and tricks for Fused Deposition Modeling (FDM), keep an eye out for upcoming blogs on these same sorts of tips for PolyJet, as well as Resin-based (SLA/DLP/CLIP) additive workflows.
1) Aim for Maximum Fluid Access
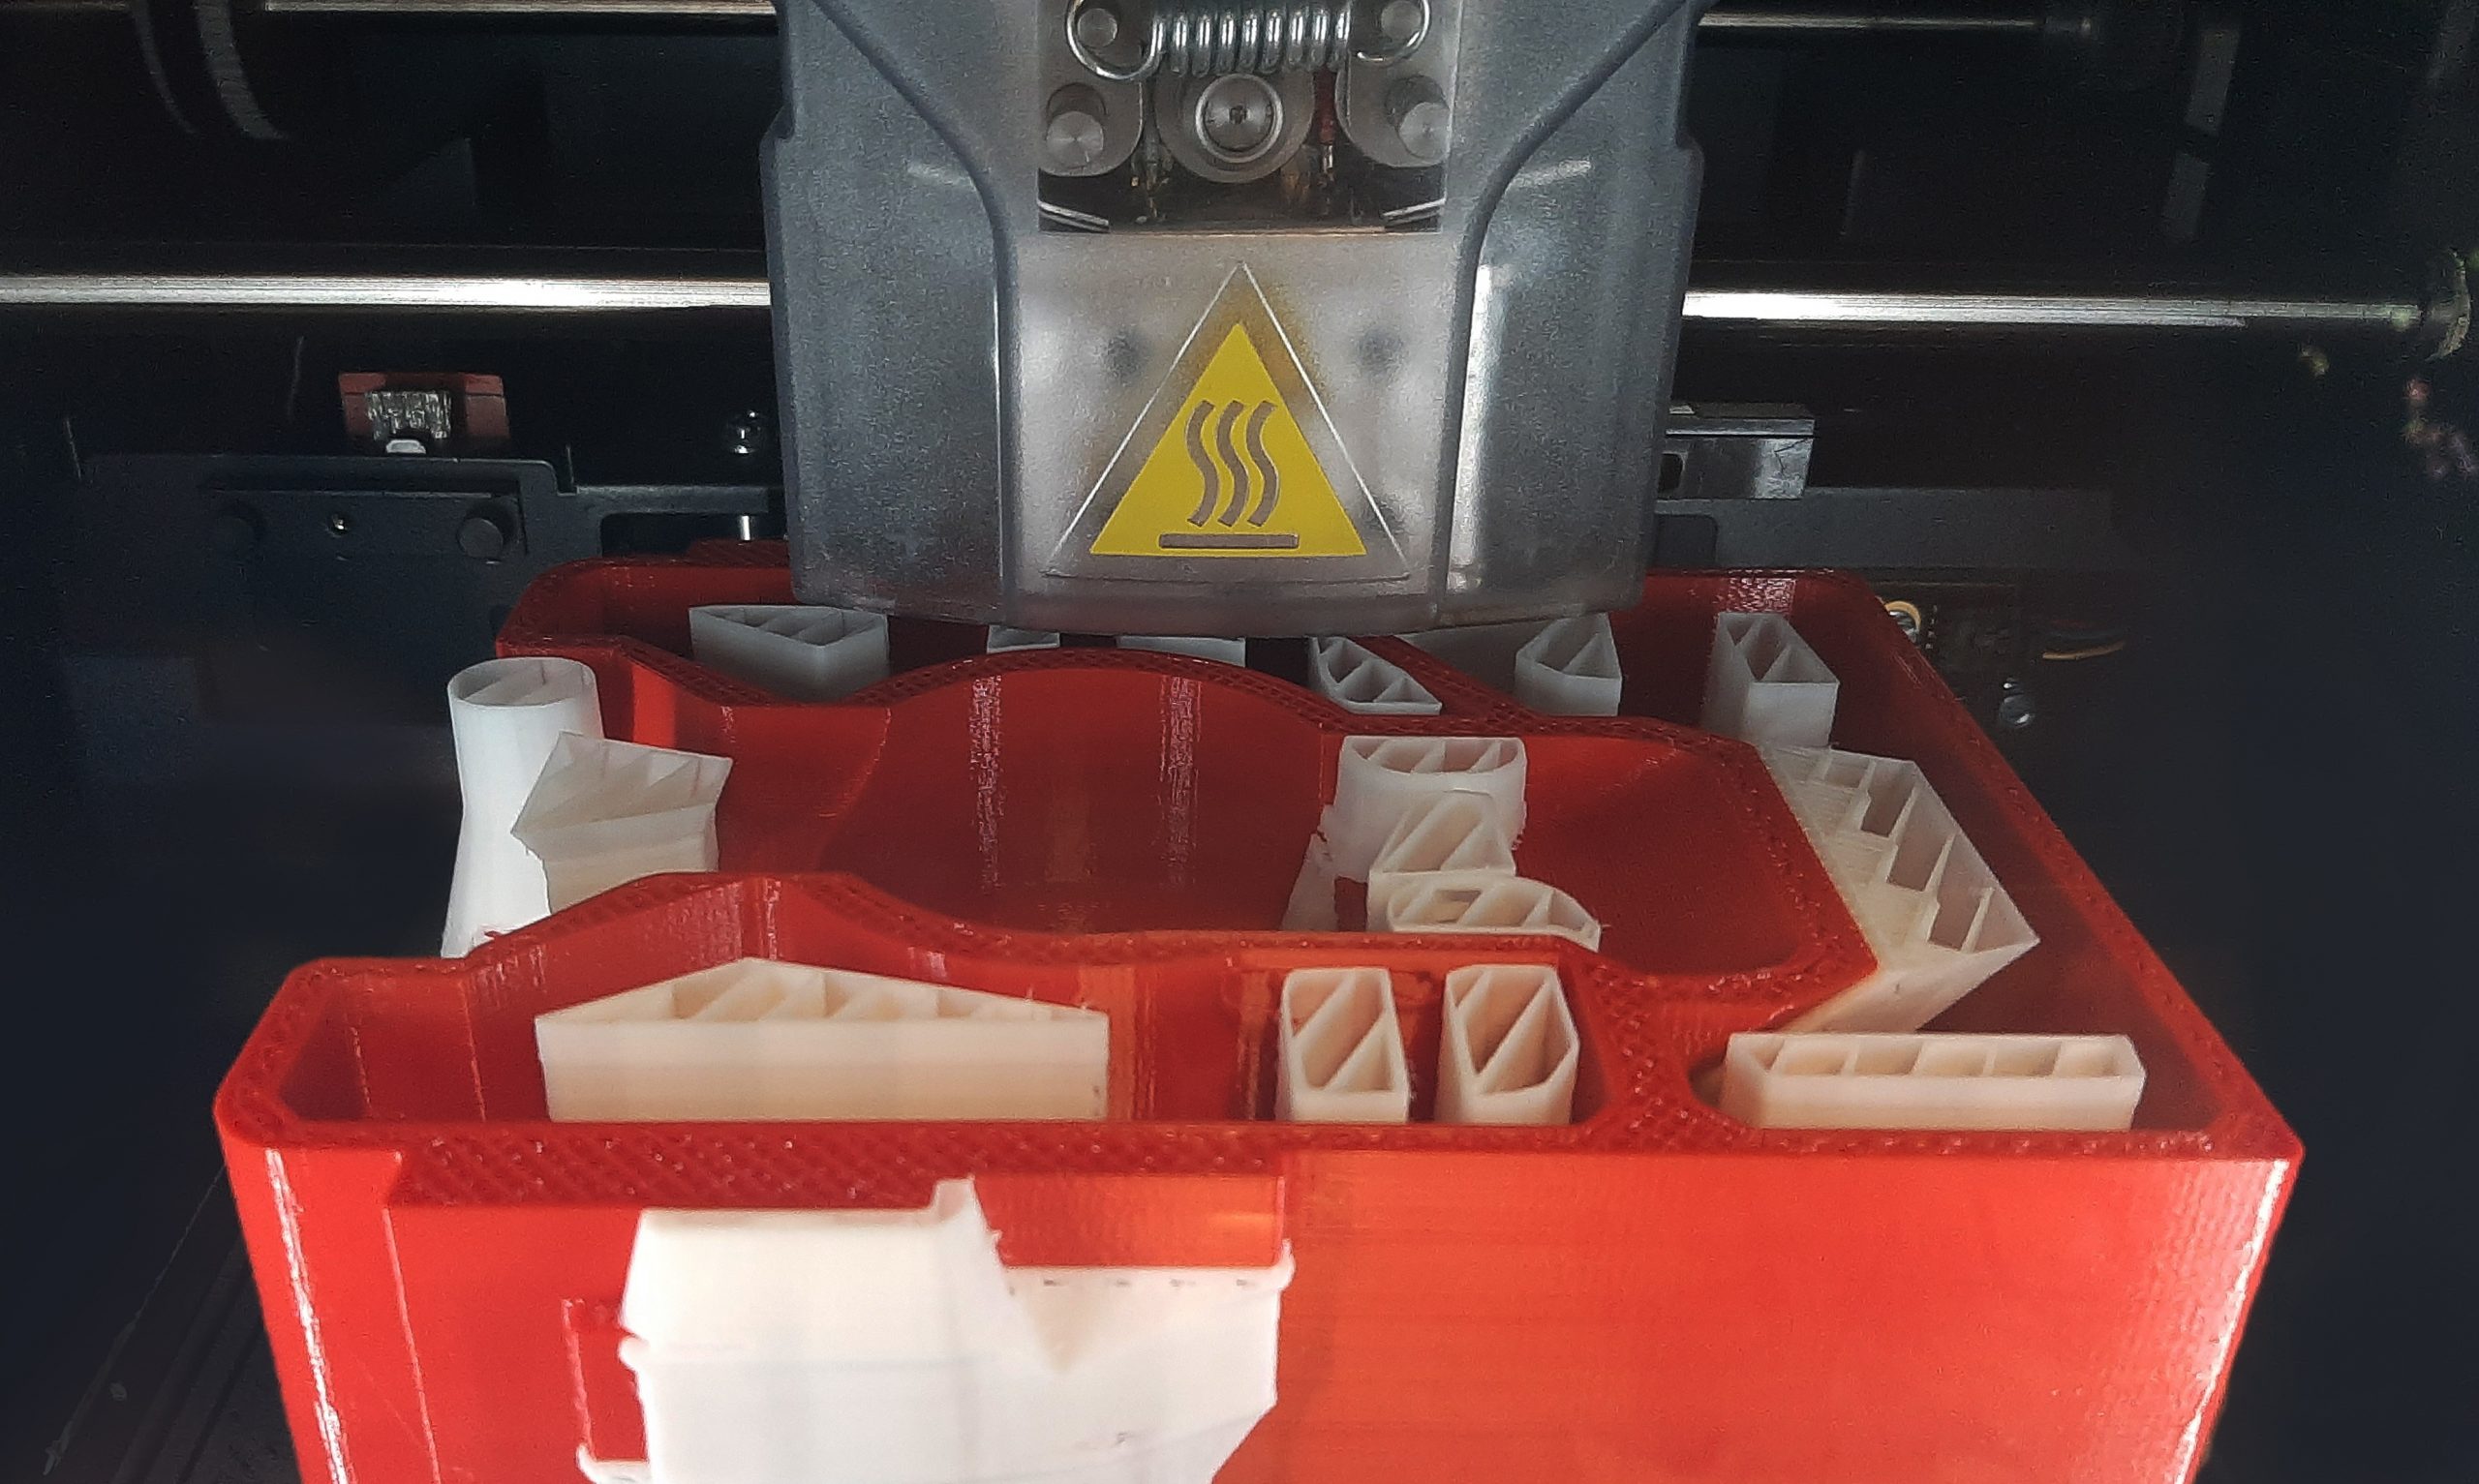
Traditional support removal and surface finishing methods for FDM post-printing typically encompass a significant amount of manual labor or the use of dunk tanks. To reduce the need for hands-on toil and let the detergent, or abrasive media in the case of surface finishing, used in automated solutions do more of the grunt work, you’ll want to design your part with maximized fluid access in mind. Exposing parts to detergents for the least amount of time possible will cut down on drying time, and as a result, help to speed up your entire printing production. To improve detergent flow, you’ll want to avoid incorporating any dead-end channels within your FDM part, and instead, look for logical places to add drain holes and improve detergent flow without compromising the design.
2) Limit Support Material
Another hallmark of FDM printing is its ability to complete “sparse builds” as opposed to solid-filled parts. This low-density style of part design is often self-supporting, requiring less support and material usage overall. Part orientation is another facet that directly impacts the amount of structural support needed. Keep in mind that the default parameters on design software often overcompensate with more overhangs than necessary. Specifically, limiting the number of overhangs within a part will notably reduce the amount of support material required.
 3) Use The Build Envelope to Your Advantage
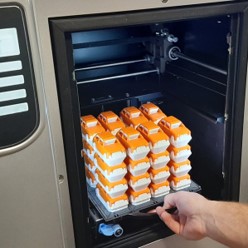
With FDM printing, you can also use the height of the build envelope to your advantage by stacking parts. Stacking parts will help to simplify post-printing down the line as build material from the other parts will act as support casings, therefore minimizing the need for excess supports.
4) Don’t Forget About Surface Finishing!
When it comes to optimizing an FDM part particularly for surface finishing, many of the same recommendations regarding support removal apply. Much like you’d design a part to have optimal fluid access, ensuring that circulating abrasive media has maximum contact with the part helps to guarantee a uniform finish. “Filleting”, or rounding internal corners, is a simple way to allow for better media contact. Similarly, printing surfaces perpendicular to the build plate, as opposed to parallel, will initially create a much smoother finish, allowing a part requiring a low Roughness Average (Ra) to be more achievable. Areas printed parallel to the build plate, known as the surface’s “rasters” or “upskin”, tend to have much rougher surfaces, so it’s best to try and keep these as small as possible. Finally, taking care to limit part angles to 45 degrees or less will optimize surface finishing, as angles greater than this can be quite difficult to smooth, even with an additional surface finishing step.
Like most things in life, becoming adept at designing for post-printing and additive manufacturing in general simply takes time and practice. The more time you dedicate towards experimental printing, the more you will understand the nuances of your FDM printer, and the better you can optimize part builds. As the first to innovate automated post-printing solutions tailored specifically to FDM printing, PostProcess Technologies has an array of resources to help you unearth the tribal knowledge within the 3D printing industry, including white papers. Explore our product offerings to learn how our proprietary intelligent post-printing solutions are critical to further post-printing optimization, improve additive workflow efficiencies, and save on time, labor, and energy.
-> Want to connect? Contact Us
-> Return to Blog Homepage